
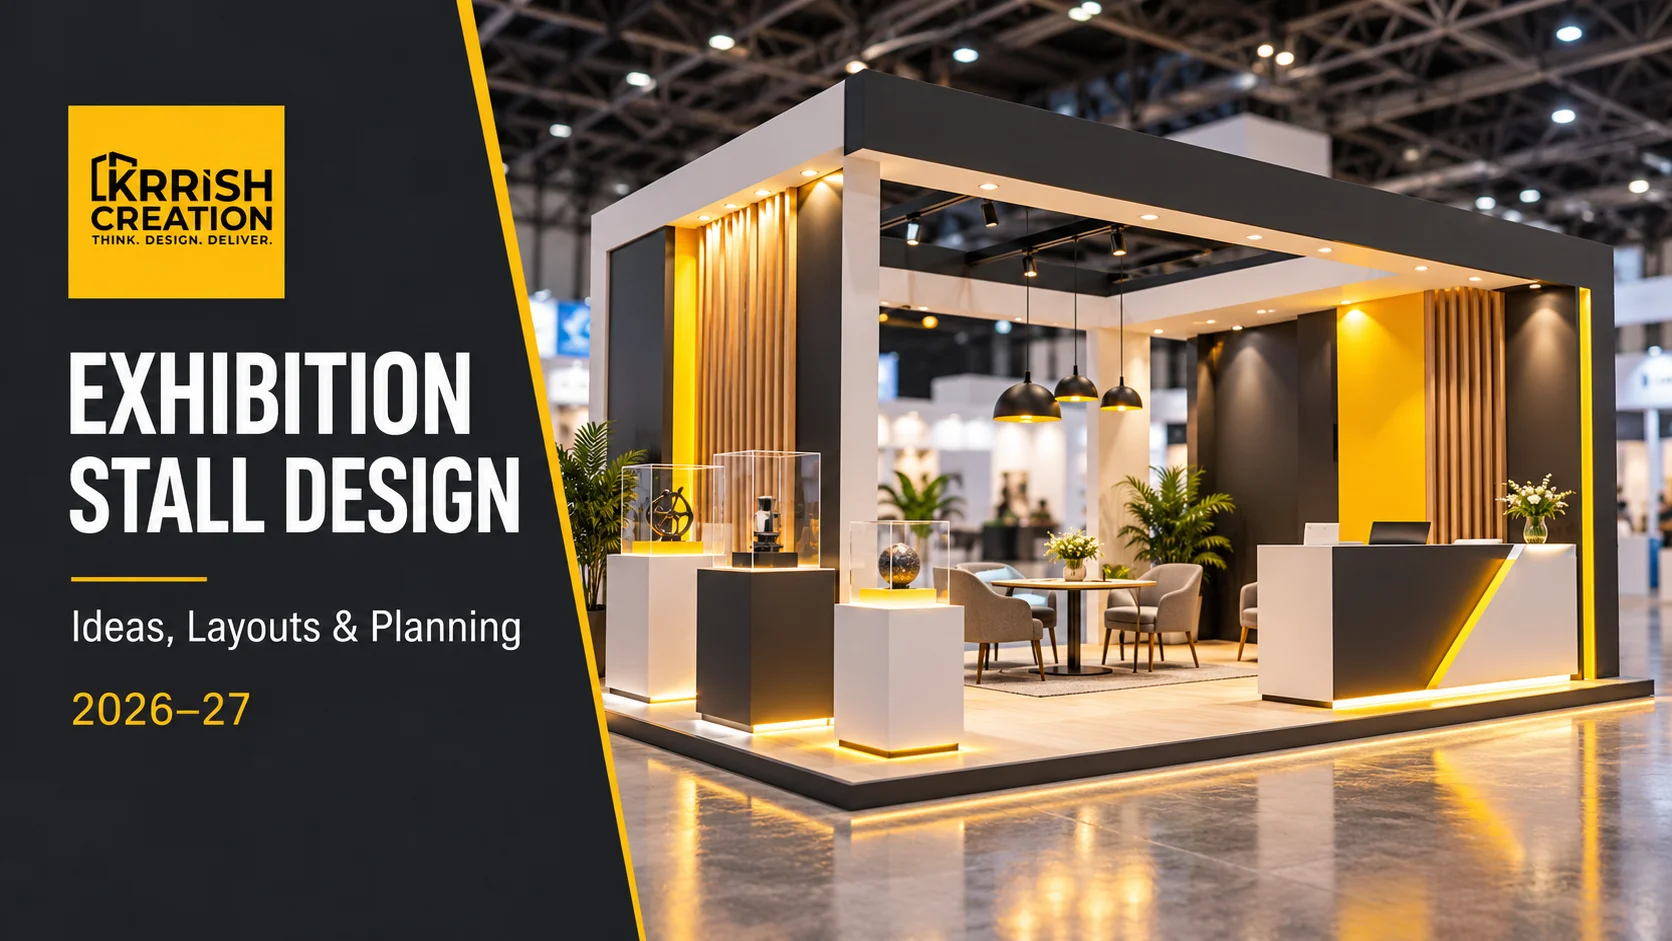
Exhibition Stall Design : Ideas, Layouts & Planning Guide
Table of Contents
Exhibition Stall Design for 2026–27: Ideas, Layouts and a Practical Planning Guide
Good exhibition stall design brings your brand, products and visitor experience together. From the first view across the aisle to a detailed conversation inside the booth, the layout should make your offer easy to understand and your space comfortable to explore.
Once you have booked your exhibition space, start with the products you want to highlight, the people you want to meet and the conversations you want to encourage. These priorities help your designer shape the branding, displays, lighting and meeting areas around a clear purpose.
A booth can look impressive in a presentation and still be difficult to use. The reception may block the entrance, the main product may disappear behind furniture, or there may be nowhere to keep spare samples. These are planning decisions that should be resolved before production begins.
For your 2026–27 exhibition calendar, focus on a stand that supports a clear business objective. Whether you want distributor enquiries, product demonstrations, scheduled meetings or new project discussions, that objective should guide the layout and budget.
This guide explains how to brief an exhibition stall designer, compare different layouts, choose useful creative features and prepare for fabrication. It also covers the questions worth asking before you approve a quotation.
What Is Exhibition Stall Design?
Exhibition stall design is the planning of a trade-show space, including its layout, branding, product displays, lighting, furniture and storage. Its purpose is to help visitors understand the exhibitor’s offer and interact with the business comfortably.
The process considers the stand from several perspectives. Visitors need to recognise the brand, see something relevant and find an easy way to approach. The exhibiting team needs room to demonstrate products, answer questions, manage materials and hold conversations.
A design package may include a dimensioned floor plan, 3D views, elevations, graphic placements and material specifications. The agreed scope determines exactly which drawings and documents are supplied.
Design and fabrication are closely connected, but they serve different purposes. The designer develops the concept and explains how the space should function. The fabrication team produces the physical components needed to bring that approved concept to the venue.
For a project-specific discussion, explore Krrish Creation’s exhibition stall design services and share the floor plan for your upcoming show.
Start With What You Want the Exhibition to Achieve
Before selecting colours, furniture or structural features, agree on the main reason for participating. A product launch needs a different environment from a distributor meeting programme or a technical equipment demonstration.
Ask your team what a useful interaction should look like. Does the visitor need to examine a sample, watch a process, compare specifications or discuss a requirement privately? The answer helps determine how much space each activity deserves.
Turn the business objective into a layout decision
- • Product launch: give the new product a clear focal position and prepare a concise explanation of its value.
- • Distributor enquiries: provide space to discuss the range, commercial requirements and next steps.
- • Machinery demonstrations: begin with the equipment footprint, operation and observer positions.
- • Scheduled meetings: plan seating and access so booked conversations can happen without disrupting other visitors.
- • Sample-based selling: organise materials so buyers can inspect and compare them easily.
Choose one primary objective and a small number of supporting goals. Trying to give every product and activity equal prominence can make the stand harder to understand.
Your brief should also describe the intended audience. A technical buyer may need detailed demonstrations, while a distributor may want to understand the product range and supply capability. The booth should help your team handle those conversations.
7 Exhibition Stall Design Ideas Worth Considering for 2026–27
A useful creative idea solves a specific problem. It might make a product easier to see, give visitors a reason to participate or allow selected components to serve more than one event.
Use the following ideas as options for your brief. Choose the ones that support your products, audience and budget rather than attempting to include everything in one booth.
1. Use simple exhibition stall design to make the offer clear
A clear message gives the right visitor a reason to stop. Start with what your company provides and the application or problem it addresses.
For example, a packaging machinery supplier could identify the type of production line it supports. A surface-material company could show where its products are used. These messages give buyers something more specific than broad claims about innovation or quality.
Create a visual order: brand name, main offer, key product and supporting information. Detailed specifications can sit in product labels, brochures or digital material rather than competing for attention across every wall.
Review the graphics at their intended size. Ask someone unfamiliar with your company what they understand from the design. If the main offer needs a lengthy explanation, simplify the message before adding more decorative elements.
2. Make the product demonstration part of the layout
A working demonstration can make a technical explanation easier to follow. Plan where it happens before positioning the reception desk and meeting furniture.
Consider the complete activity. The presenter needs a working position, visitors need a clear view, and people who are not watching still need to move through the stand.
For machinery, account for the equipment’s dimensions, operation and servicing requirements. For software, check screen visibility and where the presenter will stand. For materials, make samples easy to handle and compare.
Run through the demonstration with the proposed layout in front of you. Where does a visitor stop? What do they see first? Where does the conversation continue afterwards? These questions help connect the display to a useful sales interaction.
3. Plan reusable components around your event calendar
If you attend several exhibitions, review the booked plots together. Identify which dimensions, products and brand elements are likely to remain consistent.
Selected counters, display units, wall systems and graphics may be suitable for reuse or adaptation. The practical value depends on how well those components fit the next project and how they are handled between events.
Ask who will pack, store, inspect and repair the items. Include those responsibilities in the comparison between owning components, renting a system and commissioning a new build.
A reusable approach should be explained component by component. “This display unit can be retained and fitted with new graphics” is more useful than a general claim that the whole booth can travel anywhere unchanged.
4. Choose materials for appearance and practical use
A reception counter, product shelf and illuminated sign perform different jobs. Their material choices should reflect the required finish, strength, weight and expected handling.
Discuss how prominent surfaces will look under exhibition lighting. Ask for a sample or clear specification where colour and texture are important to the brand.
For materials intended for repeated use, consider replaceable surfaces, repairable components and suitable packing. If sustainability is part of your brief, identify what will actually be rented, retained, reused or recovered.
Keep environmental statements specific and supported. A wood-effect finish or a few plants do not establish the environmental performance of a stand. The material plan and post-event handling matter more than the visual theme alone.
5. Use lighting to guide attention
Start by identifying what visitors need to see clearly. The main product, a sample display, branding and a meeting table may each need a different lighting approach.
General lighting helps people move and talk comfortably. Focused lighting can emphasise selected products. Backlit graphics can provide a visual feature where they suit the concept and available budget.
Check glare on glass, reflective packaging and glossy surfaces. A bright fitting in the wrong position can make a product more difficult to inspect.
Plan fixtures and cable routes early. The equipment list should be reviewed alongside the venue’s service requirements so the lighting shown in the concept can be delivered as intended.
6. Give conversations and storage enough room
Choose meeting furniture according to the discussion you expect. A short enquiry may need a standing point, while a product comparison or commercial meeting may justify seated space.
Measure the furniture and consider the room needed around it. Chairs must be usable when occupied, and people should be able to enter or leave without interrupting another activity.
Storage is equally important. Spare samples, bags, packaging and brochures can quickly take over a booth if they have no designated place.
Estimate what the team will keep on the stand during a full day. Then check storage access in the floor plan. A cupboard hidden behind a chair may look tidy in a render but be inconvenient throughout the event.
7. Give visitors a relevant digital next step
A QR code works best when its destination matches the display beside it. Link a product to its specification sheet, catalogue or relevant enquiry page.
Avoid making visitors search through a general homepage for information they expected to receive immediately. Keep the connection between the physical product and the digital content clear.
Test links on a phone using mobile data. Check the page layout, download size and any form fields. Provide a readable web address or a team-assisted alternative for visitors who prefer not to scan.
Decide what happens after an enquiry is submitted. A useful digital experience includes an appropriate response and a clear owner for follow-up.
Exhibition Stall Design Layouts for Different Spaces
Dimensions are only part of the layout decision. Open sides, neighbouring stands, columns and aisle positions can change how visitors approach and use the booth.
Always start with the organiser’s actual floor plan. A reference image may provide inspiration, but it does not establish what can be built on your particular plot.
One-side-open stalls
A one-side-open booth has a single aisle-facing entrance. The back and side boundaries can support branding, shelving and storage, while the front needs to remain understandable and accessible.
Avoid placing a large reception counter across the entire entrance unless the intended activity specifically requires a service-counter arrangement. Otherwise, visitors may have difficulty seeing how to enter.
Check how someone reaches the rear displays. A central furniture group can divide a compact booth and make part of it difficult to use.
Two-side-open corner booths
A corner location offers approaches from two adjacent aisles. The design should work from both directions, with readable branding and a clear view of the products.
Closed boundaries can support functions that benefit from a wall, such as graphics, shelving or storage. Keep the open corner useful for visibility and entry.
For a two-side-open exhibition stall design, review whether the reception position serves both approaches. Sometimes a smaller counter placed slightly inward gives visitors more room to enter and explore.
Three-side-open stands
A three-side-open layout provides several entry opportunities and usually one closed boundary. It can support separate display and conversation areas when the arrangement has a clear purpose.
Place enclosed functions where they do not interfere with the main approaches. Organise products so visitors can understand the range without walking around disconnected display units.
Review the stand with people shown at realistic positions. A layout should still make sense when several buyers gather around the most popular product.
Four-side-open island booths
An island booth is visible and accessible from four sides. It needs branding and product presentation that remain coherent from every main approach.
A central structure can provide a focal point or storage, provided it does not conceal important displays. Freestanding units should create useful zones without turning circulation into a maze.
Request views from all sides. The surfaces behind counters, displays and structural features may be visible to visitors even if they do not appear in the main presentation image.
Planning a Small Booth Without Making It Feel Crowded
Small spaces reward careful selection. Begin with your essential products and activities, then decide which supporting information can move into a catalogue or follow-up conversation.
Include the team in the space calculation. A layout that appears comfortable when empty may feel very different with representatives, buyers and open cupboard doors.
Small Exhibition Stall Design: Making a 3×3 Metre Booth Work
A 3×3 metre space provides 9 square metres. A practical starting point is one main product display, concise branding, compact storage and a clear area for interaction.
If your product range is extensive, select representative samples. Use organised drawers, a catalogue or a screen for the rest rather than filling every surface.
Add seating only when the measured layout supports it. Check how visitors approach the display and where your team stands during a conversation. Small exhibition booth design works best when the priorities are obvious.
A 6×3 metre booth: check the frontage
A 6×3 metre plot provides 18 square metres. However, a six-metre open frontage creates different opportunities from a three-metre entrance leading into a deeper space.
With the longer frontage open, a demonstration and meeting point may sit beside each other. With the shorter frontage open, the route towards the rear needs particular attention.
Use product grouping and graphics to organise the space before introducing partitions. Keep supporting furniture proportional to the booth and the expected activity.
A 6×6 metre booth: give each zone a purpose
A 6×6 metre plot provides 36 square metres and may accommodate several product groups, a larger demonstration or a dedicated meeting area.
More floor area does not mean every part needs a structure. Open space can make the stand easier to navigate and give visitors room to step back and inspect products.
Position the team’s working areas carefully. Representatives should be able to reach storage or operate equipment without repeatedly crossing another presentation or discussion.
Custom, Modular or Hybrid: Which Approach Fits Your Brief?
The right construction method depends on your product requirements, visual goals, event programme and budget. Compare the options using the same brief so you can see the practical trade-offs.
Custom exhibition stands
Custom construction can suit unusual display requirements, distinctive architectural features or a closely controlled brand environment. It offers flexibility where standard component sizes are unsuitable.
Ask how the main features will be produced and finished. Visible edges, material transitions, joints and signage deserve attention because they influence the completed appearance.
Discuss reuse before construction. Selected custom components may be retained, but the design and handling arrangements need to support that intention.
Modular booth systems
Modular systems use components that can be assembled into suitable configurations. Their usefulness depends on the available dimensions, accessories and condition of the system.
Review the proposed layout for your actual plot. Check the position of graphic joints, shelving and storage instead of assuming that every arrangement is equally suitable.
If you intend to reuse the system, ask how it would change for your next booked space and which additional components would be required.
A hybrid approach
A hybrid booth combines standard or reusable elements with selected custom features. For example, a standard wall system may support a distinctive product display or reception unit.
This allows the budget to concentrate on the elements that matter most to the presentation. The combined finishes and proportions should still feel consistent.
An exhibition stand builder should explain these options in relation to your brief, including the implications for production, transport and future adaptation.
Exhibition Stall Design & Fabrication: What Should the Budget Cover?
A useful quotation identifies the design deliverables, physical build, graphics, equipment and execution responsibilities. It also states exclusions clearly so the exhibitor can plan the complete project budget.
Separate the cost of the booth from the total cost of participating. Space rental, travel, accommodation, organiser utilities and promotional activity may sit outside the contractor’s scope.
There is no single rate that accurately describes every project. The same floor area can support a straightforward branded booth or a complex build with specialised displays and finishes.
Compare specifications before comparing totals
- • Design: required views, drawings, specifications and revision arrangements.
- • Structure: dimensions, heights, framing, panels and construction details.
- • Finishes: flooring, visible surfaces, colours and edge treatments.
- • Branding: print sizes, materials, signage and artwork preparation.
- • Display equipment: showcases, shelving, screens and accessories.
- • Furniture: quantities, dimensions, finish and rental arrangements.
- • Execution: packing, transport, installation, dismantling and agreed handling.
- • Additional items: applicable taxes, organiser services, deposits and exclusions.
A lower quotation may cover fewer items or different materials. Ask for clarification where specifications are vague, particularly on the most visible or heavily used parts of the booth.
Review Krrish Creation’s exhibition stall fabrication services when discussing how the approved concept will be translated into a physical build.
Where can you simplify without losing the purpose?
Protect the features needed for product presentation, clear communication and comfortable interaction. Simplifying a decorative structure may be a more useful saving than removing storage or compromising a critical display.
Ask the designer for alternatives before final approval. A different finish, standard component or rental item may serve the same function at a more suitable cost.
Approve artwork and product dimensions before production. Late changes can affect several connected items, including graphics, lighting positions, shelving and packing arrangements.
Confirm the scope in writing
Keep the approved drawings, specification and quotation together. Record the handover date, responsibilities and process for approving changes.
Confirm who books organiser services, including electricity, internet and any specialist utilities. Treat each item as a defined responsibility rather than assuming it is covered by a general description of the project.
What to Share With Your Exhibition Stall Designer
A good brief makes the design discussion more productive. It gives the team enough information to solve the right problem and reduces the need to make assumptions.
- • Event information: exhibition name, city, dates and installation schedule.
- • Booked space: dimensions, open sides, floor plan and known obstructions.
- • Exhibitor manual: the organiser’s requirements and submission deadlines.
- • Business objective: audience, priority products and desired next step.
- • Product details: measurements, weights, quantities and demonstration needs.
- • Team requirements: staffing positions, meeting format and storage needs.
- • Brand assets: vector logo, colour references, product photographs and approved copy.
- • Commercial limits: budget range, required services and decision deadlines.
Include a few visual references with an explanation of what you like. “We like the open entrance and sample display” is more useful than asking for an entire unrelated booth to be copied.
Identify the person responsible for final approval. When several departments contribute, consolidate their feedback before sending revisions so the designer receives a clear direction.
How to Review a 3D Exhibition Stall Design Before Production
A 3D presentation helps you assess appearance and spatial relationships. It should be reviewed alongside a dimensioned plan and the specifications needed for construction.
Check the plan before the decorative details
Confirm that the plot dimensions and open sides match the booking. Check the size of the actual products, furniture and storage areas.
Follow the visitor route from each approach. Look for awkward entrances, narrow passages and places where someone watching a demonstration would block another activity.
Review cupboard doors, chair movement and the team’s working positions. These details influence daily usability even when they are less noticeable in the main render.
Review graphics and materials at the right scale
Make sure the main message is readable in its proposed position. Check whether supporting labels remain useful when products and people are present.
Confirm the materials represented in the image. A colour or texture in a render needs a corresponding specification, sample or agreed finish.
If a screen is central to the concept, review the intended content. The visitor experience depends on what plays on it, not simply the appearance of a screen in the drawing.
Agree on approvals and handover checks
Confirm the final revision before fabrication starts. Keep track of artwork approval, required technical submissions and organiser service bookings.
Agree on the inspections needed before delivery and at handover. Check graphics, visible finishes, furniture quantities, display operation and access to storage.
Record issues clearly while there is time to resolve them. A documented approval process helps the exhibitor, designer and builder work towards the same result.
Adapt the Booth to How Your Customers Evaluate Products
The same display method does not suit every industry. Think about what buyers need to see, handle or understand before they can have a useful discussion.
- • Machinery and industrial products: plan around equipment footprints, operation and the space needed to explain the process.
- • Pharma and healthcare: organise technical information clearly and allow room for detailed conversations.
- • Food and beverages: consider sampling, stock, cleaning and the relevant event requirements.
- • Jewellery: focus on showcases, inspection lighting, product handling and consultation space.
- • Textiles and interiors: make it easy to compare samples, textures, finishes and scale.
- • Technology and software: prioritise readable demonstrations, presenter positions and appropriate backup content.
Use industry examples to identify useful functions, then adapt them to your offer. A reference booth may have been designed for a different audience, team size or sales process.
How to Choose an Exhibition Stand Builder
Start with relevant work. Look for projects with similar dimensions, display requirements or construction features, rather than judging only the largest stands in a portfolio.
Ask which images show completed installations and which show concepts. Both can be useful, but they provide different evidence. Completed work helps you assess execution, while concepts demonstrate the proposed creative approach.
Discuss how the team connects design, specifications and production. Ask who handles revisions, how changes are priced and who will be responsible for handover.
Review the proposal for clarity. A useful exhibition stand builder should explain the options and trade-offs in relation to your products, budget and event requirements.
Browse Krrish Creation’s exhibition booth design portfolio for references, then identify the features that are relevant to your own brief.
Common Planning Mistakes to Avoid
- • Starting without the booked floor plan: plot orientation and open sides can change the entire layout.
- • Trying to display everything: too many products can leave little room for visitors to inspect the important ones.
- • Overloading graphics: the main offer becomes harder to understand when every message has equal emphasis.
- • Leaving storage until the end: supplies then occupy surfaces intended for products and conversations.
- • Approving only the best camera angle: review every relevant approach and the internal arrangement.
- • Adding equipment without a use plan: screens and interactive devices need suitable content and team preparation.
- • Missing deadlines: artwork, technical submissions and service bookings need named owners.
- • Assuming inclusions: confirm delivery, dismantling, utilities and other responsibilities explicitly.
Invite the people who will operate the stand to review the plan. Their questions about samples, meetings and daily supplies can reveal issues that are easy to miss in a visual presentation.
Measure What Happens After Visitors Stop
Agree on a useful enquiry before the exhibition begins. Depending on your objective, it may involve a relevant application, an identified requirement and an agreed follow-up.
Track meaningful conversations, demonstrations, meetings and proposals consistently. A busy stand may create awareness, but activity alone does not explain the commercial result.
Record practical observations as well. Which display prompted questions? Where did visitors hesitate? Was the meeting area used? Did the team have enough storage?
Use those findings in the next brief. Sometimes a clearer product label or a different counter position may address the problem more directly than increasing the construction budget.
The booth supports your sales process. The audience, offer, team preparation and follow-up also influence the outcome.
Plan Your Exhibition Stall Design With Krrish Creation
Build your next booth around a clear message, well-presented products and space for useful conversations. A thoughtful layout connects these elements while keeping your budget and practical requirements in view.
Krrish Creation provides exhibition stall design & fabrication services, including booth branding and product-display planning. Share your event details, booked floor plan and priorities to discuss a concept suited to your business.
Whether you need a compact display or a larger custom stand, our team can help you plan the design and fabrication scope around your exhibition brief.

